
How do I design a drought‑tolerant landscape with garden pathways?
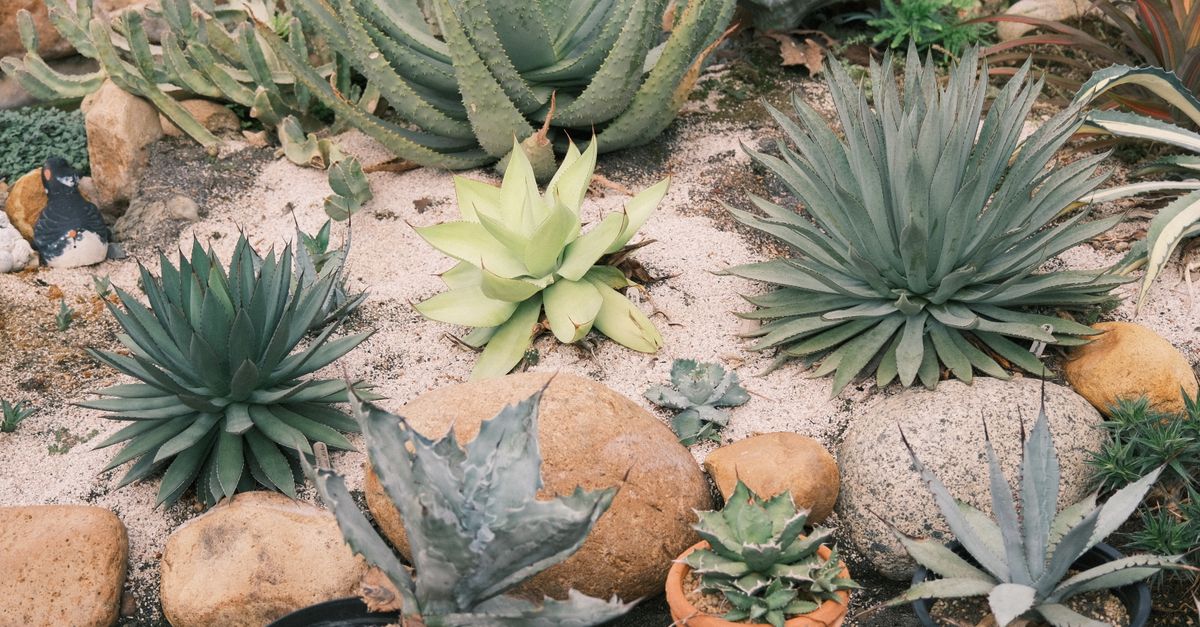
I’ve spent years turning ideas into outdoor spaces that look great, function well, and use water wisely. In this guide I’ll walk through the exact steps to create a drought‑tolerant landscape with garden pathways that stay vibrant even in dry seasons.
1. Understanding Drought‑Tolerant Landscaping
Drought‑tolerant landscaping isn’t just about picking plants that survive heat; it’s a system designed to minimize water use while maintaining aesthetic appeal. It combines smart plant selection, efficient irrigation systems, and low‑maintenance hardscapes.
When you plan, think of the landscape as an ecosystem where each element supports the others. A well‑designed drought‑tolerant site will:
Key Components of Drought‑Tolerant Design
- Water‑efficient plant mix
- Smart irrigation scheduling or rain barrels
- Low‑water hardscaping materials
- Soil amendments to increase water retention
- Mulch layers for moisture conservation
Drought‑tolerant design also considers the local climate, soil type, and existing infrastructure. A system that works in a Mediterranean climate may need adjustments for a temperate region with cooler winters.
The biggest takeaway: Drought‑tolerant landscaping is a holistic approach, not just choosing “dry plants.”2. Assessing Your Site and Water Goals
The first practical step is to evaluate what you actually need. Measure the square footage of your yard, note sunlight exposure zones, and identify any existing drainage issues.
Ask yourself:
Questions to Clarify Your Objectives
- How many hours of direct sun does each area receive?
- What is my current water bill and how much can I reduce it?
- Do I have a rain barrel, drip system, or smart irrigation controller?
- Are there shaded areas that could host more moisture‑retentive plants?
- What aesthetic style do I want to maintain (modern, rustic, cottage)?
To map sunlight, trace the path of the sun across your yard at different times of day. Mark north, east, south, and west on a simple diagram. Shade can be identified by spotting trees or buildings that block light during peak hours.
For drainage, look for low spots where water pools after rain. A simple slope test—placing a ball in various areas—can reveal how quickly runoff moves across the site. If you find stagnant pools, consider installing a French drain or creating a swale to redirect excess water.
3. Selecting Low‑Water Plants for Pathway Borders
Plant choice is the heart of any drought‑tolerant design. For pathway borders, you want plants that provide color and texture without demanding frequent watering.
Consider native perennials or succulents with deep root systems. Pair them with groundcovers to reduce evaporation.
Recommended Low‑Water Border Plants
- Lavender (Lavandula angustifolia)
- Russian sage (Perovskia atriplicifolia)
- Aloe vera or other succulents for a modern look
- Creeping thyme – aromatic and hardy
- Blue fescue (Festuca glauca) for a subtle green tone
- Daylilies – low maintenance, burst of color
When selecting plants, aim to create layers: taller species at the back, mid‑height along the pathway edges, and groundcover or low‑bushes in front. This arrangement not only looks natural but also helps shade lower plants, further reducing water needs.
If you’re working with a limited budget, mix high‑cost ornamental perennials with inexpensive drought‑tolerant grasses or sedges that thrive in the same conditions.
4. Hardscaping Options that Reduce Irrigation Needs
The hardscape is the framework that supports plant life and directs water flow. Choosing permeable or low‑surface‑area materials can drastically cut irrigation demands.
Key strategies include:
Hardscape Materials for Water Efficiency
- Pervious pavers – allow rainwater to seep through
- Gravel beds with a geotextile layer
- Natural stone slabs that spread heat and reduce evaporation
- Cobblestone patterns that create shade and reduce surface runoff
- Recycled plastic or composite decking for pathways
- Mulched borders to insulate soil
Pervious pavers come in a variety of shapes and colors, so you can match your aesthetic while allowing water to infiltrate. Gravel beds are inexpensive and easy to install; the geotextile layer prevents weed growth without obstructing flow.
Natural stone slabs may look expensive, but they provide excellent thermal mass, keeping surrounding soil cooler in hot weather. This cooling effect reduces evaporation from adjacent plants.
5. Designing the Garden Pathway Layout
A well‑planned pathway not only guides traffic but also maximizes sun exposure and water efficiency. Use a modular approach: start with a base grid, then layer plants and hardscapes.
Consider these layout principles:
Guidelines for Effective Pathway Design
- Keep pathways straight where possible to reduce material use
- Place turning points near shade or natural water collection spots
- Use a 3‑to‑5 foot width for single‑lane paths; widen to 6‑8 feet if you expect multiple users
- Add stepping stones every 3–4 feet to reduce soil compaction
- Integrate rain gardens or swales adjacent to pathways for runoff capture
- Use mulch between paving and plants to lock in moisture
When drafting the layout, sketch a rough grid on paper or use simple design software. Mark high‑traffic areas, focal points like a seating alcove or garden statue, and natural features such as trees or rock formations. The pathway should flow naturally through these elements rather than forcing them into an artificial straight line.
For safety, ensure that the path width accommodates wheelchairs if accessibility is a concern. Also consider adding subtle lighting at night—low‑voltage LED strips along the edges can illuminate the route without wasting energy.
6. Materials, Drainage, and Cost Considerations
Budget is a common constraint, but smart material choices can keep costs down while boosting water efficiency.
Typical cost ranges (per square foot) include:
- Pervious pavers: $4–$8
- Gravel beds with geotextile: $1–$3
- Natural stone slabs: $6–$12
- Composite decking: $5–$10
- Mulch: $0.50–$2 per cubic foot
To estimate the total cost, multiply the area of each material by its unit price and add a 10% contingency for unexpected expenses.
Drainage is equally important. Install a French drain or swale behind pathways to redirect excess water away from foundations. The system should be angled toward a dry spot or drainage outlet. If you choose a rain garden, line it with geotextile and fill with layered soil that allows gradual absorption.
7. Installation Steps and Timeline
Execution is where the plan turns into reality. Break the work into phases for efficiency.
- Phase 1 – Site Prep (Week 1–2): Clear debris, level ground, install geotextile if using gravel beds. Test soil pH and amend with compost or lime as needed.
- Phase 2 – Hardscape Installation (Week 3–4): Lay pavers or stone, add drainage layers. Compact the base to avoid shifting later. Install edging material to keep materials in place.
- Phase 3 – Planting (Week 5–6): Set up border plants, mulch around roots. Water deeply once immediately after planting to settle soil.
- Phase 4 – Irrigation & Final Touches (Week 7): Connect drip lines or smart irrigation, add decorative elements such as low‑maintenance rocks, and install lighting if desired.
Overall, expect a 2‑month window from start to finish for a medium‑size yard. If you work with professionals, some steps can be compressed; however, allow time for the soil to settle before planting.
8. Maintenance Tips for Long‑Term Success
A drought‑tolerant landscape requires minimal upkeep once established, but some routine tasks keep it healthy.
- Inspect mulch depth every 3 months; replenish as needed.
- Check irrigation system for leaks or clogged emitters twice a year.
- Prune dead branches from plants to promote new growth.
- Apply a thin layer of compost in spring to improve soil structure.
- Monitor soil moisture with a probe before watering.
- Control weeds by hand‑pulling or using mulch; avoid herbicides that can harm beneficial insects.
- In winter, protect low plants with a light straw covering if temperatures drop below freezing.
9. Common Mistakes to Avoid
Even the best plans can fail if you overlook simple pitfalls:
- Choosing plants that aren’t truly drought‑tolerant for the local climate.
- Ignoring soil amendments; dry soils need organic matter added.
- Installing impermeable hardscapes that trap water and damage foundations.
- Overwatering during the first year to “establish” plants.
- Neglecting proper drainage, leading to pooling around pathways.
To avoid overwatering, use a moisture sensor or schedule irrigation based on weather forecasts. Always test for runoff before adding more water.
In my experience, the biggest hurdle is convincing homeowners to invest in a permeable paver system. The upfront cost pays off after just 1–2 seasons of water savings. I’ve seen clients reduce their monthly bill by up to 30% and enjoy a cooler, more vibrant yard.
What’s the most challenging part of planning your drought‑tolerant landscape and how did you address it?


