
How Do I Transform My Backyard with Lawn Dethatching, Decorative Landscaping, and a Water Feature?
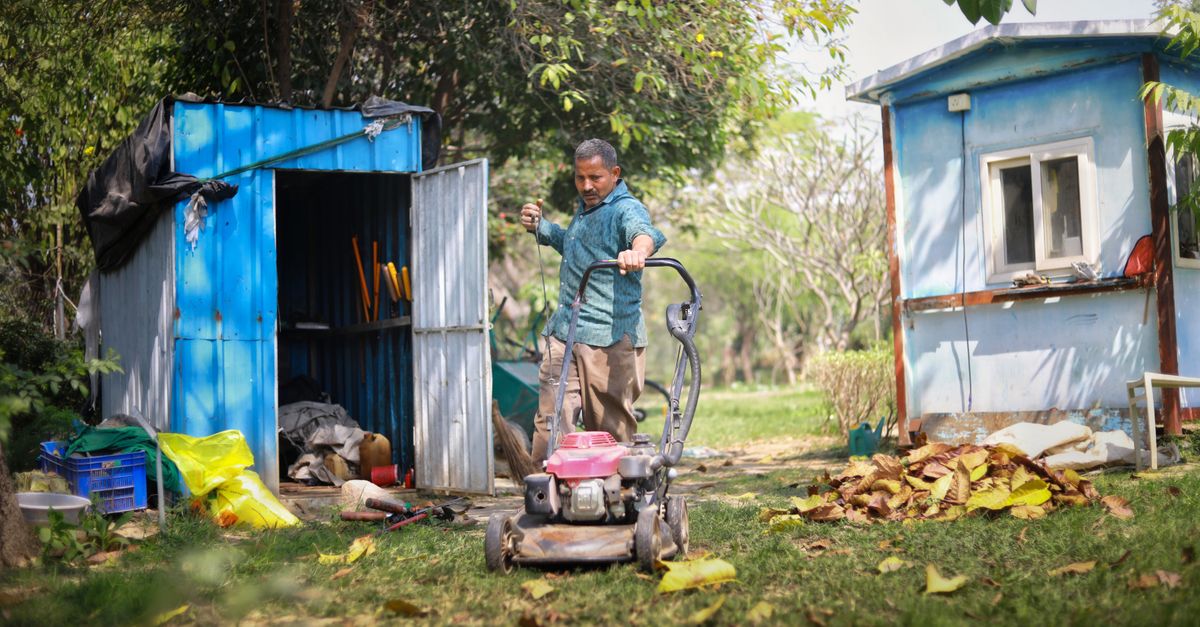
When a backyard starts feeling more like a maintenance nightmare than a retreat, it’s time for a comprehensive overhaul. I’ll walk you through the steps that turn tired grass into lush lawn, add decorative landscaping that speaks your style, and install a water feature that becomes the focal point of your outdoor space.
Understanding the Foundations of a Backyard Makeover
The first step in any renovation is to assess what you have and where you want to go. A clear vision reduces wasted time and money, especially when you’re juggling lawn dethatching services, garden maintenance, and decorative landscaping.
Assessing Your Current Landscape
Start by measuring the area, noting sun exposure, soil type, drainage patterns, and existing plantings. Consider how each element serves your family’s needs: a play zone for Adela, a basketball court for Zachary, or quiet seating for you and Ashley.
Checklist for Evaluating Condition
- Grass health (thatch buildup, weeds, disease)
- Soil pH and nutrient levels
- Drainage issues or standing water
- Existing hardscape condition (patios, walkways)
- Plant diversity and placement
- Lighting and shade coverage
- Accessibility for maintenance tasks
With this data, you can decide whether lawn dethatching services are necessary before moving on to decorative landscaping or a water feature.
Lawn Dethatching Services: Why It Matters
What is Dethatching?
Dethatching removes the layer of dead grass stems, roots, and debris that sits between your lawn’s surface and soil. A thick thatch can choke oxygen to roots, trap moisture, and invite pests.
When to Schedule Dethatching
The ideal window is late spring or early fall when grass growth is active but temperatures aren’t extreme. In 2026, climate shifts mean you may need a second dethatch if your region sees heavy summer rains.
DIY vs Professional Services
While renting a dethatcher can be cost-effective, professional services bring precision and post-service care instructions. I’ve hired lawn experts who included a one‑month follow‑up to address any emerging issues.
Pros and Cons of Hiring Professionals
- Pros: Accurate removal, equipment maintenance, expert advice on soil amendments.
- Cons: Higher upfront cost, scheduling constraints.
- DIY saves money but requires time, effort, and a learning curve.
- Professional services often include a complimentary assessment of your garden’s overall health.
Choosing the right option depends on budget, time, and how comfortable you are with lawn equipment. In my experience, the professional route pays off when the grass is severely overgrown; otherwise, a DIY approach works fine for light thatch.
Preparing Your Lawn for Dethatching
Before any dethatching takes place, give your lawn a short mowing to reduce bulk and prevent tearing during the process. Keep the mower blade sharp and cut at the highest recommended height—usually 2½ inches for cool‑season grasses—to allow the dethatcher’s tines to reach deeper layers without damaging the turf. A pre‑dethatch fertilization can also help; apply a balanced NPK fertilizer a week prior, which supplies nitrogen for rapid regrowth once the thatch is removed.
After the Dethatch: Immediate Care
Once the dethatching is complete, it’s crucial to aerate and overseed if necessary. Aeration alleviates soil compaction left behind by the heavy equipment and promotes deeper root penetration. Overseeding with a seed blend suited to your region ensures a dense, resilient lawn that resists weeds and retains moisture. Water lightly for the first week after seeding—about ¼ inch per day—to keep seeds moist without flooding the newly exposed roots.
DIY vs Professional Services
While renting a dethatcher can be cost‑effective, professional services bring precision and post‑service care instructions. I’ve hired lawn experts who included a one‑month follow‑up to address any emerging issues.
Pros and Cons of Hiring Professionals
- Pros: Accurate removal, equipment maintenance, expert advice on soil amendments.
- Cons: Higher upfront cost, scheduling constraints.
- DIY saves money but requires time, effort, and a learning curve.
- Professional services often include a complimentary assessment of your garden’s overall health.
Choosing the right option depends on budget, time, and how comfortable you are with lawn equipment. In my experience, the professional route pays off when the grass is severely overgrown; otherwise, a DIY approach works fine for light thatch.
Decorative Landscaping Ideas That Add Value
Choosing Plant Themes
Select themes based on climate resilience and maintenance tolerance. Native perennials reduce irrigation needs, while seasonal bulbs add color bursts without heavy upkeep.
Hardscape Features for Functionality
Add pathways, patios, or a raised garden bed to guide foot traffic and create distinct zones. Hardscapes also improve drainage and provide surfaces that are easier to maintain than soil.
Top Hardscape Elements to Consider
- Paver decks for seating areas.
- Stone retaining walls to manage slopes.
- Mulched beds to conserve moisture.
- Low‑maintenance gravel paths.
Integrating these elements with your decorative landscaping creates a cohesive look that supports both aesthetics and usability.
Color Schemes & Plant Placement
When designing color palettes, think of layering: groundcovers in soft greens or muted purples set the foundation; mid‑height perennials provide pops in reds, oranges, or yellows; tall trees or shrubs offer vertical interest. Position taller plants toward the back or center of a focal area so they don’t block views from seating spots. Seasonal color planning—using bulbs for early spring bursts and late‑season foliage for winter contrast—keeps the space vibrant throughout the year.
Edible Landscaping Ideas
Blending edible plants into your landscape not only saves space but also yields fresh produce right outside your door. Consider raised beds with herbs, tomato cages along a sunlit wall, or berry bushes under a pergola’s shade. These additions can be grouped by watering needs so you can efficiently irrigate similar plants in one zone.
Water Feature Installation: A Focal Point
Types of Water Features
- Pond: Natural or artificial; great for fish, lilies.
- Fountain: Provides sound therapy and visual interest.
- Stream or waterfall: Adds dynamic movement.
Select a type that fits your space size and maintenance willingness. A simple recirculating fountain is ideal for busy families, while a pond requires more upfront planning but offers richer biodiversity.
Designing for Wildlife & Safety
When you choose to install a pond or waterfall, consider how it will attract local wildlife—ducks, frogs, beneficial insects. Incorporate shallow edges and natural stone to provide safe landing spots and hideaways. Always place the pump and any electrical components well above ground level and behind a waterproof enclosure to prevent accidental contact, especially in homes with young children.
Installation Steps and Maintenance
- Site selection – avoid steep slopes or near power lines.
- Excavation – dig to the required depth; install liners if necessary.
- Pump installation – choose a submersible pump that matches your water volume.
- Filtration – use mechanical filters for ponds, or leave fountains with minimal filtering.
- Planting – add aquatic plants for natural filtration.
Once installed, routine maintenance includes checking the pump, cleaning debris, and monitoring pH levels. In my backyard renovation projects, I schedule a quarterly inspection to catch early signs of algae growth.
Pump Selection Tips
- Calculate flow rate based on water volume; a good rule is 5–7 times the pond’s depth per minute for ponds and 1–2 times for fountains.
- Choose a pump with variable speed to adjust output during hot summer months, reducing energy use.
- Opt for pumps with built‑in float switches to prevent dry running.
Common Mistakes in Water Feature Setup
- Underestimating water volume leads to over‑watering.
- Ignoring drainage can cause flooding during heavy rains.
- Choosing plants that grow too tall for the feature’s depth.
- Neglecting regular filter cleaning, leading to murky water.
A well‑planned installation avoids these pitfalls and ensures your water feature remains a source of relaxation rather than frustration.
Backyard Renovation Ideas for Every Budget
Low‑Cost Refreshes
- Replace mulch with new, clean material.
- Add LED ground lighting for safety and ambiance.
- Plant low-maintenance herbs in raised beds.
Mid-Range Projects
- Install a paver patio or walkway.
- Construct a simple stone retaining wall.
- Set up a small pond with basic filtration.
High-End Overhauls
- Create a multi-level landscape with terraces.
- Build a custom gazebo or pergola for shade.
- Integrate smart irrigation systems controlled via app.
Cost Breakdown and ROI
A lawn dethatching service costs $200–$400 per acre. Decorative landscaping materials average $10–$30 per square foot, while a basic water feature installation ranges from $1,000 to $5,000 depending on complexity.
High-end projects may cost upwards of $20,000 but can increase property value by 8–12%. Even modest updates—like a new patio or fresh mulch—can boost curb appeal and create immediate enjoyment for the family.
Garden Maintenance: Keeping the Investment Alive
Routine Care Tasks
- Mowing: twice a week in growing season.
- Fertilizing: quarterly, matching soil test results.
- Pest control: organic sprays or companion planting.
- Weed removal: hand-pull or mulch to suppress growth.
Seasonal Adjustments
In spring, focus on aeration and overseeding. Summer demands increased watering and shade provision. Fall is the time for mulching, leaf cleanup, and preparing plants for winter dormancy.
Tools You Need for Garden Maintenance
- Mower with adjustable cutting height.
- Garden tiller for soil aeration.
- Pruning shears and loppers.
- Watering can or hose with a smart timer.
- Gloves, kneel pad, and safety glasses.
Invest in quality tools; they last longer and make tasks easier. In my experience, a good tiller saves hours of manual soil turning each year.
Putting It All Together: A Practical Timeline
Planning Phase (Weeks 1–2)
- Conduct site assessment and gather data.
- Create a budget spreadsheet and prioritize projects.
- Select contractors for dethatching or water feature installation.
Implementation Phase (Weeks 3–12)
- Schedule lawn dethatching service.
- Begin hardscape construction—pathways, patios.
- Install decorative plantings and mulch beds.
- Set up water feature with proper filtration.
Maintenance and Review (Ongoing)
After each season, review what worked and adjust the plan. A quarterly maintenance checklist keeps the yard healthy and ensures you’re not caught off guard by pests or erosion.
The key takeaway: Start with lawn dethatching to give your grass a solid foundation, then layer decorative landscaping and water features for aesthetic impact—always align each step with budget and family needs.In my experience, aligning the project timeline with seasonal weather patterns reduces costs and maximizes plant survival. I’ve seen families like mine enjoy their revamped backyard within six months without compromising on quality.
What is one area of your backyard that you feel most hesitant to renovate, and why?


