
How to Design a Residential Garden That Boosts Curb Appeal in 2026?
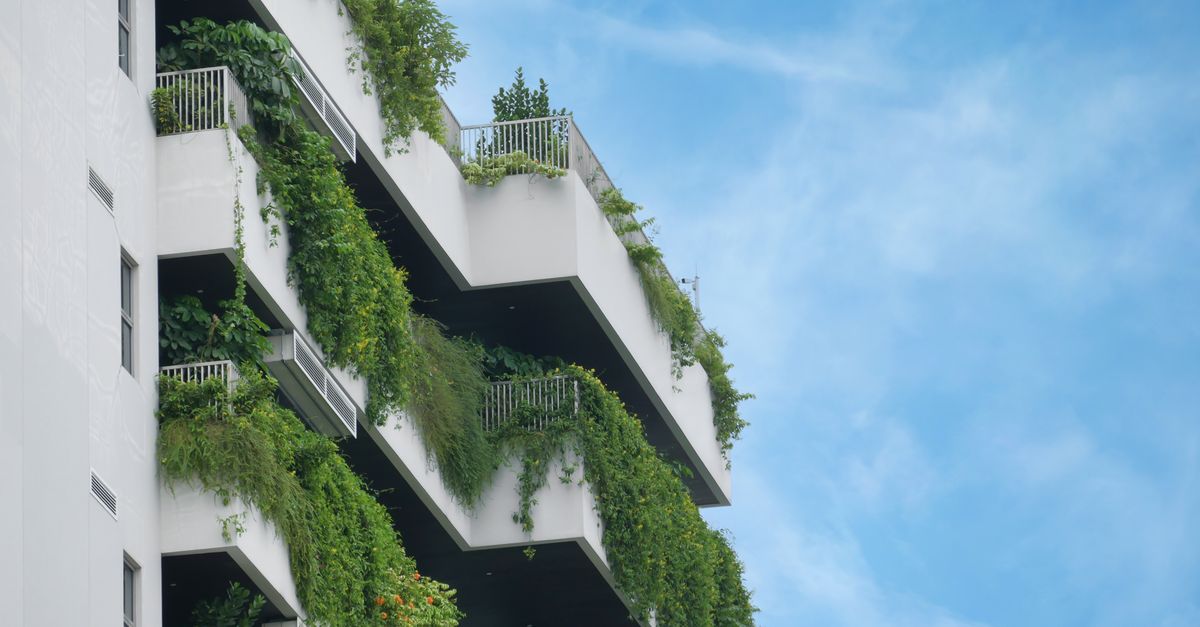
I’ve spent the last decade building systems that turn ordinary spaces into functional, high‑impact environments. When it comes to the front yard and outdoor living areas, the goal is simple: create landscaping that elevates curb appeal while offering practical use.
1. Start with Landscape Grading
The foundation of any successful garden begins with proper grading. Poor drainage can ruin a patio or make a lawn soggy. I always start by mapping out the slope of my property and identifying low spots that need re‑grading.
In my experience, using a laser level to mark the grade lines saves hours of back‑and‑forth work.Once the slope is established, I move on to installing a drainage layer—crushed stone or gravel—to redirect water away from foundations and walkways. This step also sets the stage for a clean paver patio installation later on.
Key Grading Steps
- Measure existing slopes with a laser level.
- Identify low spots that collect water.
- Excavate to create a 2‑to‑3‑inch slope away from structures.
- Add a drainage layer of crushed stone, then compact.
- Finish with topsoil and a seed mix for lawn or ground cover.
- If persistent pooling is detected, install a French drain or infiltration trench.
- Verify final grade by performing a simple water run test after grading.
To prevent erosion during the initial wet season, I lay down geotextile fabric beneath the topsoil. This keeps the sub‑soil stable and allows the soil to settle without shifting later on. A well‑graded yard not only looks tidy but also protects your foundation from moisture damage.
2. Define Your Design Goals for Curb Appeal
I treat curb appeal like a brand statement: it’s the first impression that tells neighbors and visitors what to expect. I set clear objectives—whether you want a modern, minimalist look or a lush, cottage garden feel.
In my experience, sketching three design concepts on paper helps clarify priorities before spending money.Once goals are set, I match them with the surrounding architecture and local climate. This alignment ensures that plant selections and material choices reinforce your home’s style while thriving in the environment.
Design Goal Checklist
- Architectural harmony (modern vs classic).
- Desired maintenance level (low, medium, high).
- Seasonal color palette—plan for year‑round interest by selecting plants that bloom at different times.
- Functional zones—play area, dining space, privacy corners.
- Budget constraints and ROI expectations.
When sketching concepts, consider how lighting will frame the front door during evening hours. A subtle uplight on a focal shrub or a low‑profile walkway lamp can dramatically change the mood of an otherwise plain entrance. Also think about privacy: strategically positioned evergreen hedges or screen plants can shield your living room from passersby while still letting sunlight in.
3. Choose Materials for Paver Patio Design
A well‑planned paver patio is the centerpiece of outdoor living. I prefer natural stone or high‑density urethane composites that withstand foot traffic and weather extremes.
In my experience, selecting a slip‑resistant finish on the pavers reduces accidents during wet seasons.After choosing the material, I design the pattern—herringbone, basketweave, or random. The layout should complement plant beds and pathways, creating visual flow from the front door to the patio area.
Paver Patio Material Guide
- Natural stone (flagstone, slate) – durable, authentic look.
- Concrete pavers with color additives – cost‑effective and customizable.
- Composite pavers – low maintenance, eco‑friendly options.
- Permeable pavers – enhance drainage and reduce runoff.
- Edge stones – define borders and protect edges from wear.
Before laying the patio, I embed a permeable base layer that allows water to seep through. This prevents puddles and keeps the surface dry for extended periods. After the pavers are set, I sweep fine sand over the joints and apply a sealant that matches the color of the stones, ensuring longevity and a polished finish.
4. Implement Lawn Aeration for Healthy Turf
Lawn aeration is essential for a lush, green lawn that supports foot traffic and reduces soil compaction. I use either core or spike aerators depending on the lawn’s density.
In my experience, aerating in late spring before peak growth maximizes root penetration.After aeration, I apply a light topsoil amendment and seed blend tailored to local soil conditions. This process revitalizes dormant grasses and improves overall resilience.
Aeration Process Steps
- Select the appropriate aerator (core vs spike).
- Aerate during early morning or late afternoon for optimal moisture retention.
- Leave cores in place to fill with soil naturally.
- Apply a seed mix suitable for your climate zone.
- Mow at the recommended height after 6–8 weeks of growth.
I also incorporate dethatching immediately after aeration if the lawn has built‑up thatch. Removing excess thatch allows nutrients to reach the roots and reduces fungal problems, especially during humid summer months.
5. Plan Plant Selections and Water Features
Choosing plants that thrive locally reduces maintenance costs and ensures a vibrant landscape year‑round. I focus on native species, drought‑tolerant shrubs, and perennials with staggered bloom times.
In my experience, integrating a small water feature—like a pebble basin—adds soothing sounds without excessive upkeep.Water features should be placed at focal points to draw attention, yet positioned to avoid creating excess moisture around the foundation. I also incorporate mulch beds to retain soil temperature and suppress weeds.
Plant Selection Tips
- Prioritize native species for lower water usage.
- Use drought‑tolerant perennials for low maintenance.
- Layer plants by height: 3–5 feet, 6–8 feet, and canopy.
- Add evergreen shrubs for year‑round structure.
- Include a mix of flowering species for seasonal color.
When choosing mulch types, I favor organic options like shredded bark or pine needles. These materials break down slowly, enriching the soil while keeping weeds at bay. If you prefer a low‑maintenance look, stone mulch offers durability and a sleek aesthetic that complements modern designs.
6. Create Pathways, Lighting, and Outdoor Furniture Zones
Pathways guide visitors through the landscape while offering functional access. I favor permeable pavers or gravel paths that integrate with the grading system to avoid water pooling.
In my experience, installing LED strip lighting along pathways not only enhances safety but also highlights key features at night.Outdoor furniture zones—such as a seating alcove or dining area—should be defined by low-profile planters or subtle elevation changes. This creates distinct spaces without cluttering the overall design.
Pathway and Lighting Checklist
- Select permeable materials that match patio aesthetics.
- Route paths to avoid steep grades or obstacles.
- Install LED lighting for energy efficiency.
- Use low-profile planters to define spaces discreetly.
- Incorporate motion‑sensor fixtures for added security.
The lighting design extends beyond pathways. I place uplights on taller shrubs and downlights in dining areas to create a layered glow that feels welcoming. Solar-powered fixtures reduce electricity usage while providing sufficient illumination for evening gatherings.
7. Maintenance Planning and Seasonal Adjustments
A resilient landscape requires consistent care. I schedule routine tasks—mowing, pruning, fertilizing—and seasonal inspections for drainage issues or pest infestations.
In my experience, setting up a digital calendar reminder for each maintenance task saves time and prevents overlooked chores.For winter, I protect pavers with a light mulch layer to prevent cracking from freeze‑thaw cycles. In spring, I apply a balanced fertilizer that supports new growth without overfeeding.
Maintenance Task List
- Mow lawn twice per week during peak season.
- Trim shrubs and trees quarterly.
- Apply organic mulch annually in beds.
- Inspect drainage and re‑grade if necessary.
- Check paver joints for cracks and reseal as needed.
During late fall, I clear fallen leaves from pathways to reduce slipping hazards. If you have a water feature, I inspect the pump and filter, ensuring it’s free of debris before the first use in spring. By staying proactive, you maintain an inviting space all year long without large, unexpected costs.
8. Cost Estimation, Budgeting, and ROI
I break down expenses into three categories: materials, labor, and contingency. Materials include soil amendments, pavers, plants, and lighting fixtures. Labor covers excavation, grading, installation, and finishing touches.
In my experience, allocating a 10‑15% contingency buffer protects against unforeseen site challenges like hidden rock or utility relocation.When evaluating ROI, I look at increased property value, lower maintenance costs, and the intangible benefit of enhanced lifestyle quality. A well-designed garden can add up to 5–7% to home equity in a competitive market.
Budget Breakdown Example
- Materials: $8,000 – includes pavers, plants, mulch.
- Labor: $12,000 – excavation, grading, installation.
- Contingency (15%): $3,000.
- Total Project Cost: ~$23,000.
This investment translates into a higher curb appeal score, a more inviting outdoor space, and long‑term savings on lawn maintenance. If you’re budgeting for a smaller scope—such as a single patio extension or a focused plant bed—the same principles apply but at a scaled cost.
What specific landscaping challenges have you faced in your home’s front yard, and how did you address them?


